
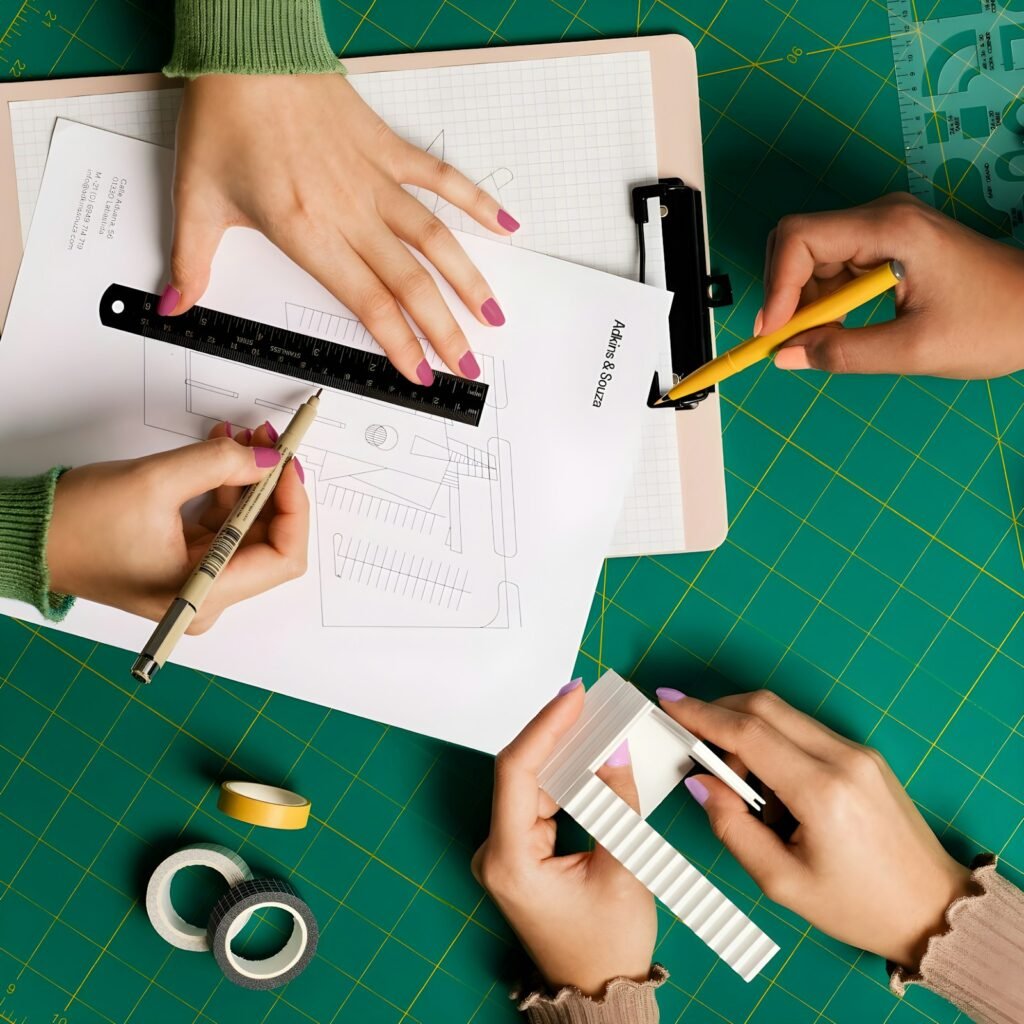
Some of the deepest learning in our home has started with a simple question from one of my children. A question about how something works, why something happens, or whether we could make something ourselves. Instead of answering it and moving on, we’ve learned to slow down and ask: what if this became a project?
Project-based learning at home is one of the core parts of our blended, child-centred homeschool. In this guide I’ll explain what it is, how to plan a project step by step, how to bring different subjects into it, and how to keep a record of learning without turning it into a chore.
It’s part of my wider guide to gentle, child-centred homeschooling in Hong Kong.
What is project-based learning?
Project-based learning (often shortened to PBL) means learning through an extended project that explores a real question or problem. Rather than studying a topic first and doing a project at the end, the project is the learning. Children research, experiment, create and share, and pick up reading, writing, maths, science and more along the way because the project needs them.
| A typical “project” | Project-based learning | |
|---|---|---|
| When it happens | At the end of a topic | Throughout; the project drives the learning |
| Who chooses | Usually the adult | The child, with adult support |
| Length | A day or two | Several days to several weeks |
| Focus | The finished product | The questions, process and reflection, as well as the product |
Why it works so well at home
- Interest is built in. When children care about the question, motivation takes care of itself.
- Subjects connect naturally. A single project can involve research, measuring, writing, drawing and presenting.
- It fits a flexible rhythm. Projects can expand on high-energy days and pause on quieter ones.
- It builds real-life skills. Planning, problem-solving, persistence and communicating ideas.
- It suits different learners. Children who struggle with worksheets often shine when they can build, test and show.
How to plan a project, step by step
1. Start with your child’s question
Listen for curiosity. It might come from a book, a walk, a cooking session or a passing comment. Good starting questions are open-ended and real: “How do birds build nests?” “Why do some things float?” “Could we grow our own vegetables on the balcony?”
2. Shape a driving question together
Help turn the curiosity into a question that guides the project. “How can we design a bird feeder that birds will actually use?” gives more direction than “birds”. Keep it challenging but achievable.
3. Plan loosely
Talk through what you might need to find out, what you could make or do, and roughly how long it might take. Write it on a large sheet of paper or a whiteboard. Keep it flexible, because projects often change direction, and that’s part of the learning.
4. Research and explore
This is where the library becomes your best friend. Read books together, watch short documentaries, visit places, talk to people who know about the topic, and make observations. Encourage your child to note down what they find in their own way: drawings, lists, photos or short notes.
5. Make, test and revise
Build the model, run the experiment, write the story, plant the seeds. Then look at what happened. What worked? What didn’t? What would we change? Trying again after a setback is one of the most valuable parts of the whole process.
6. Share what you’ve learned
Children love an audience. They might present to the family, make a poster, record a short video, write a book or share at a homeschool meetup. Explaining their work to others deepens understanding.
7. Reflect together
Finish with a simple conversation: What are you proud of? What was hard? What do you still wonder about? Often the answer to that last question becomes the next project.
Weaving subjects into a project
Here’s how one project, for example “designing a balcony herb garden”, can touch almost every subject:
| Subject | What it might look like |
|---|---|
| Science | What plants need, how seeds germinate, observing growth over time |
| Maths | Measuring pots and soil, tracking height on a chart, budgeting for seeds |
| Literacy | Reading gardening books, keeping a growth journal, writing plant labels |
| Art and design | Sketching a layout, decorating pots, botanical drawings |
| Life skills | Planning, watering routines, cooking with the herbs |
You don’t need to force every subject into every project. Keep core skills like reading and maths practice going alongside, and let the project add depth and meaning.
Project ideas by age
Younger children (around 4–7)
- Build a shelter for a toy animal
- Grow beans in a jar and record what happens
- Make a picture book about a favourite creature
- Set up a pretend shop with prices and signs
Middle years (around 8–11)
- Design and test a paper boat that carries the most coins
- Create a guide to the birds or insects in your neighbourhood
- Plan a family meal on a set budget
- Research and model how a local reservoir or bridge works
Older children (around 12+)
- Run a small business and track income and costs
- Investigate a local environmental issue and present solutions
- Produce a short documentary or podcast series
- Design, code and test a simple game or website
Many of our favourite projects began outdoors. If you’d like ideas for that, read my post on nature-based learning in Hong Kong.
Your role: guide, not lecturer
In project-based learning, the parent’s job shifts from delivering lessons to supporting thinking. That means asking questions more than giving answers, helping find resources, gently stretching your child (“What could you measure?”), and stepping back so they can own the work. It’s very close to the Montessori idea of following the child, which I write about in Montessori at home.
Keeping a record of learning
Projects can feel hard to “prove” on paper, but simple records work well:
- A project journal with notes, drawings and questions
- Photos of each stage, with a sentence about what was happening
- A short reflection at the end, written or recorded
- A list of skills covered, such as measuring, research or persuasive writing
Over a year, these records build into a rich portfolio of your child’s learning, which is also helpful if you need to show your homeschooling plan and progress. I explain more about that in how to start homeschooling in Hong Kong.
When a project loses steam
Not every project ends with a grand finale, and that’s fine. If interest fades, ask what felt hard or boring. Sometimes a small change, like a new material, an outing or a visitor, brings it back to life. Sometimes the project has simply done its job, and it’s time to wrap up with a short reflection and move on.
Frequently asked questions
What is project-based learning in homeschooling?
It’s an approach where children learn through extended projects built around a real question or problem. Research, making, testing and sharing are part of the learning, and several subjects are covered naturally along the way.
How long should a homeschool project last?
Anywhere from a few days to several weeks, depending on your child’s age, interest and the scope of the question. Younger children often prefer shorter projects.
Can project-based learning replace a curriculum?
Some families use it as their main approach; others blend it with structured practice in reading, writing and maths. Many find a blend gives the best of both.
How do I assess learning in a project?
Look at the process as well as the product: questions asked, research done, skills used and reflections shared. Journals, photos and short conversations make this easy to record.
Do I need lots of materials?
No. Library books, household items, recycled materials and time outdoors are enough for most projects.
Start with one question
You don’t need to plan a whole year of projects. Listen for the next question your child asks with real curiosity, and see where it leads. For the bigger picture of how projects fit alongside Montessori, nature learning and emotional wellbeing in our home, read my guide to homeschooling in Hong Kong.